Understanding the Alerts page
In this tutorial, you will learn what the Alerts page shows and how to use it to investigate anomalous events.
An alert is generated when the number of wildlife cases for a given target over the previous 7 days meets or exceeds the calculated threshold for that target. Each alert carries a Signal Strength score and level (Low, Moderate, High, or Extreme) describing how far above the threshold the count is. Thresholds are based on historical case counts for the species and clinical classifications you are watching, so an alert means "this combination is being reported more than expected right now."
Step 1 — Open the Alerts page
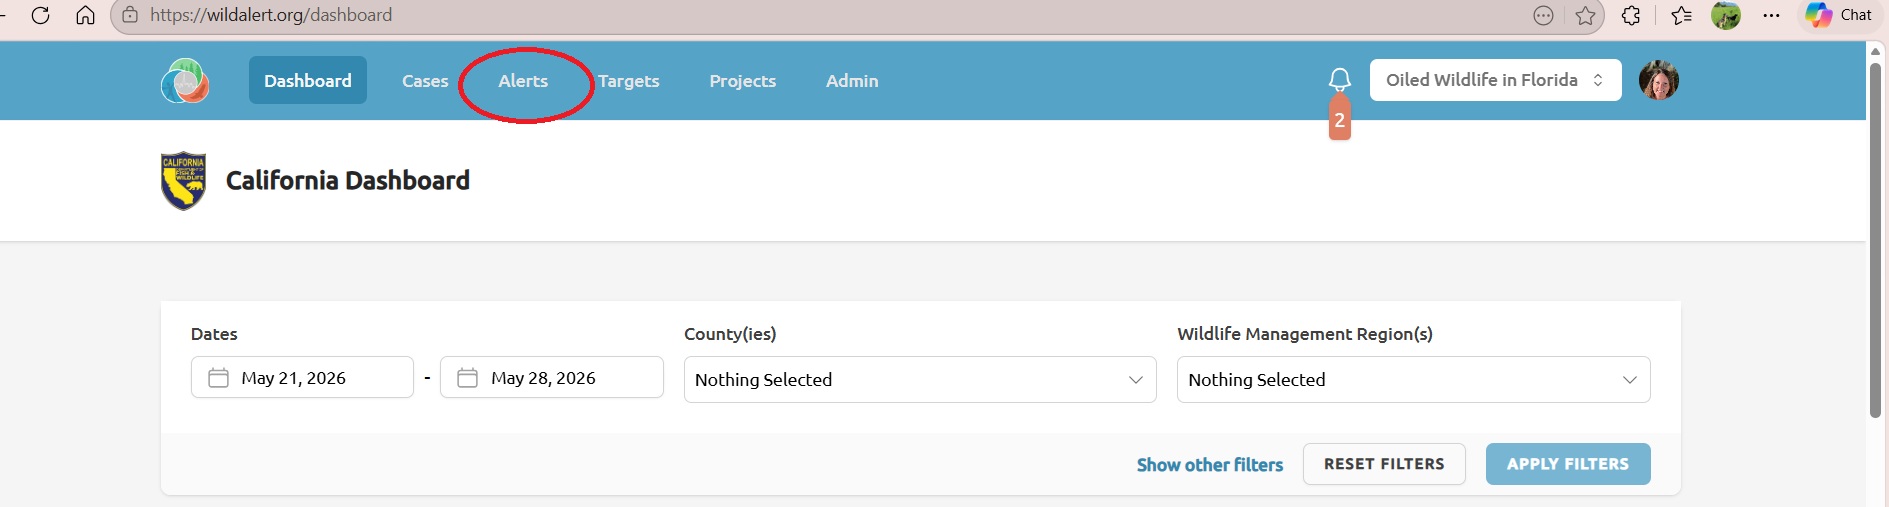
Click Alerts in the top banner. The page is organized into four sections:
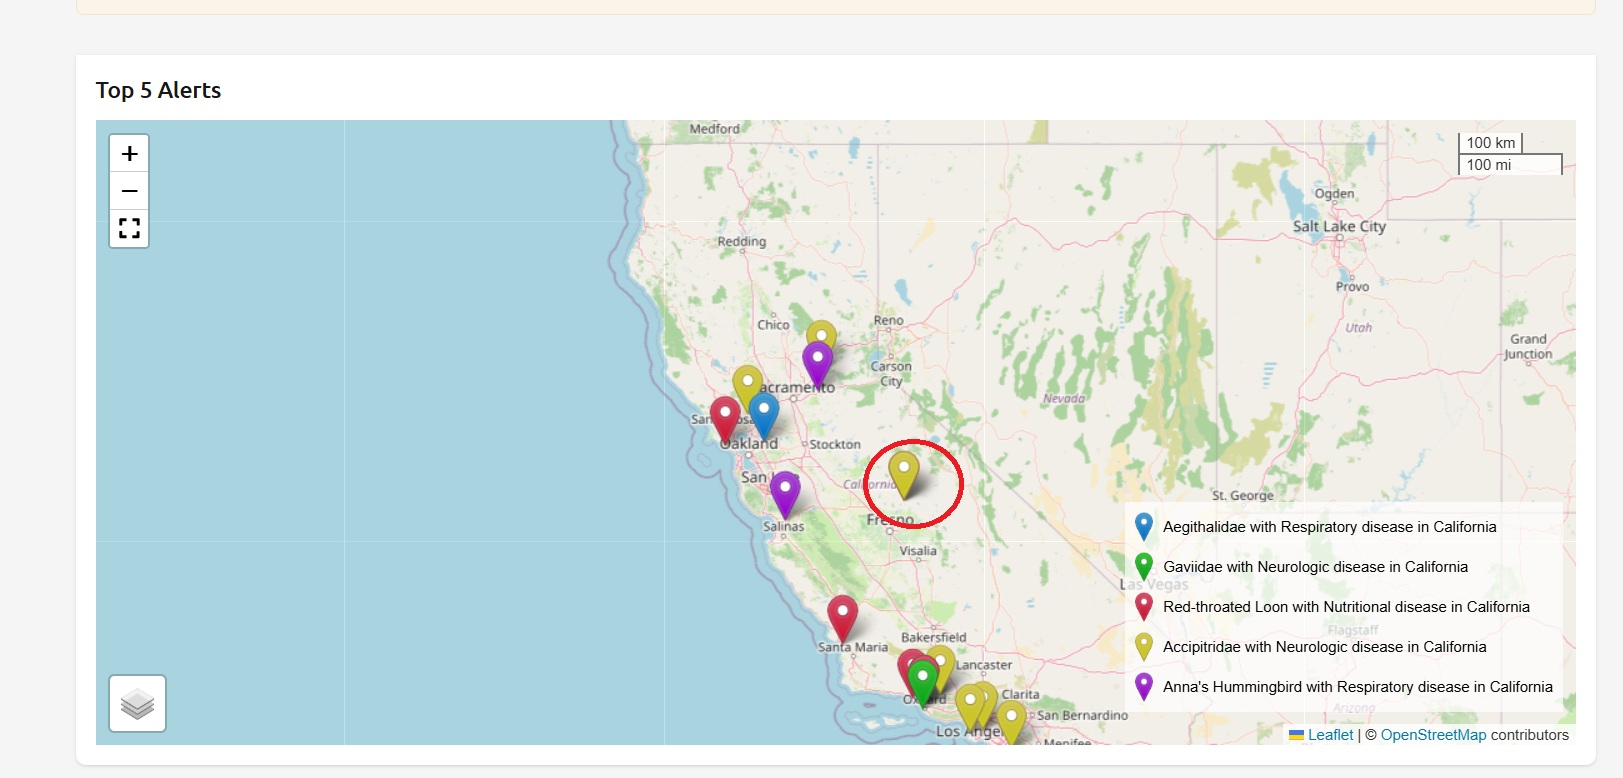
- Top 5 Alerts — a map showing the geographic distribution of cases for the five highest-priority alerts across the network over the previous 7 days.
- Strongest Signals — beside the map, a ranked list of the same alerts showing each target's signal strength level and its case count against the expected threshold. Click an entry to open the target.
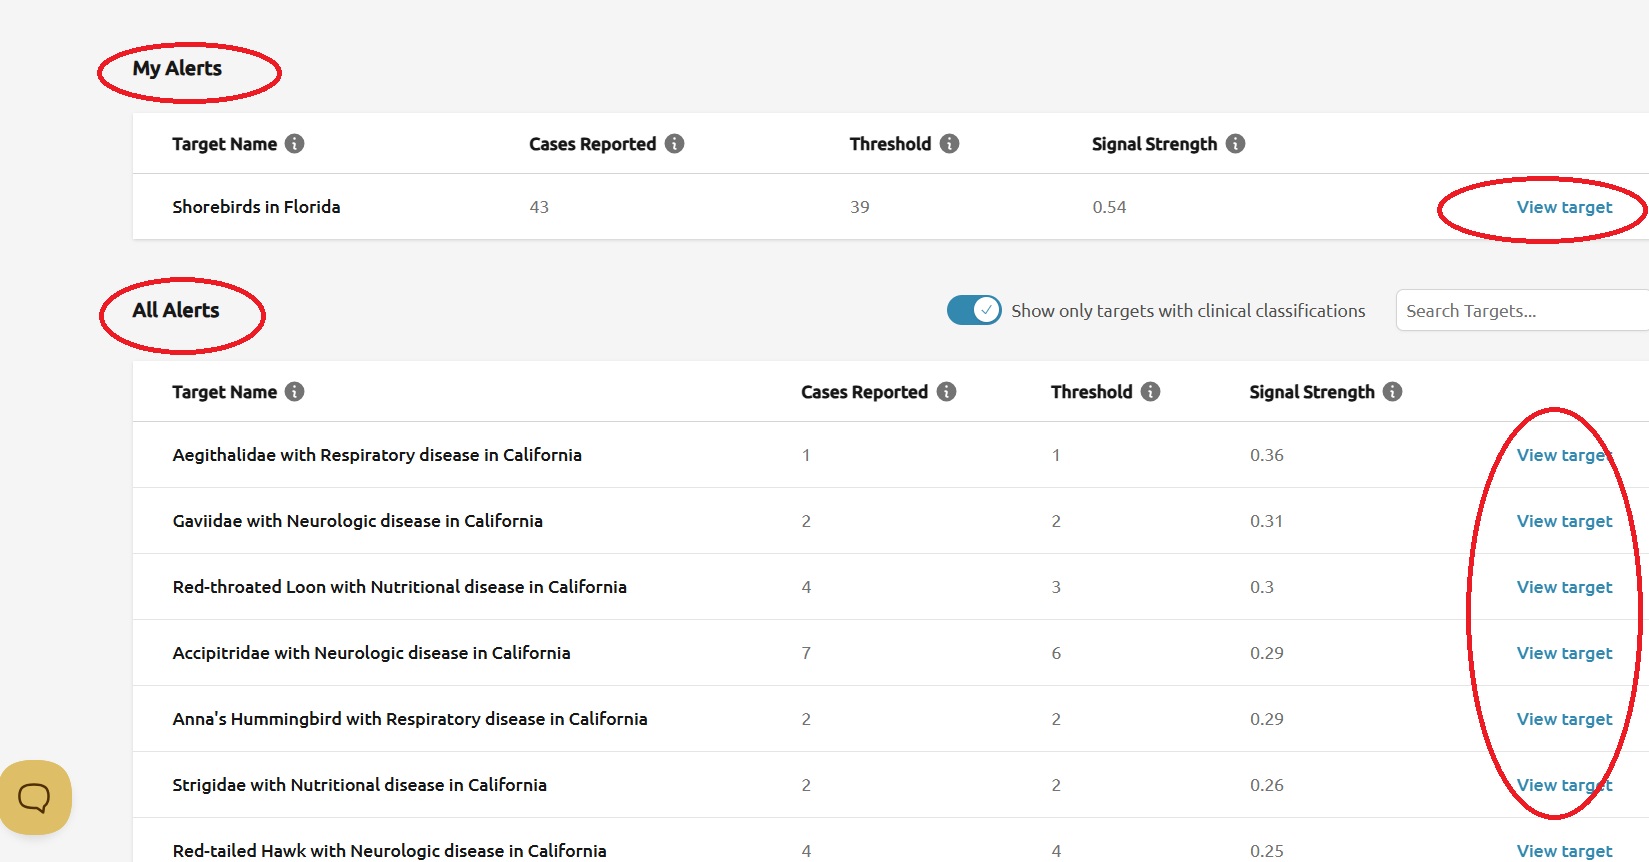
- My Alerts — alerts on targets your team has subscribed to. If none of your subscribed targets have exceeded their threshold, this section shows a message saying so.
- All Alerts — every other alert in your territory, for targets your team is not subscribed to.
Step 2 — Read the Top 5 map
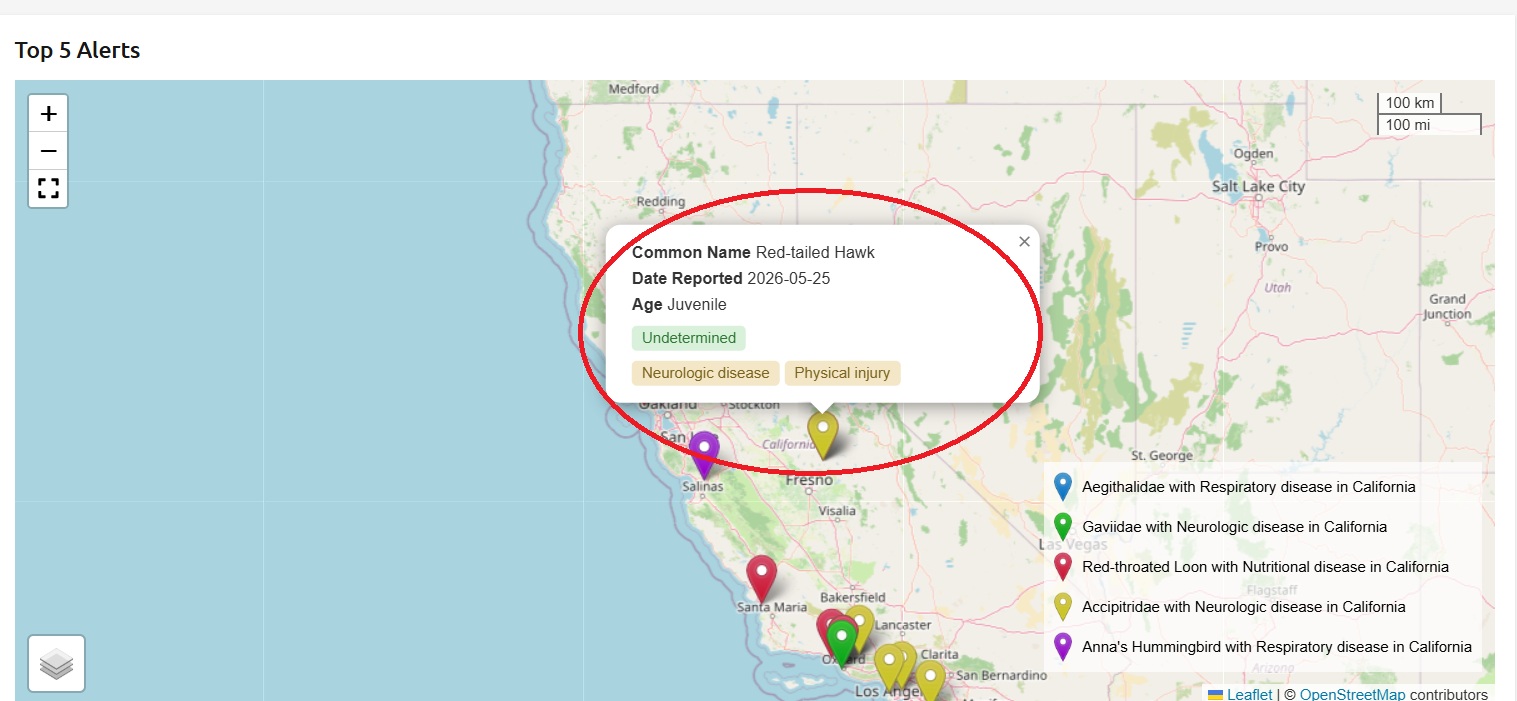
The map at the top of the page plots cases for the top five active alerts. Each marker represents a case; you can click a marker to see basic details for that case. The map is fixed to the previous 7 days.
Step 3 — Investigate a specific alert
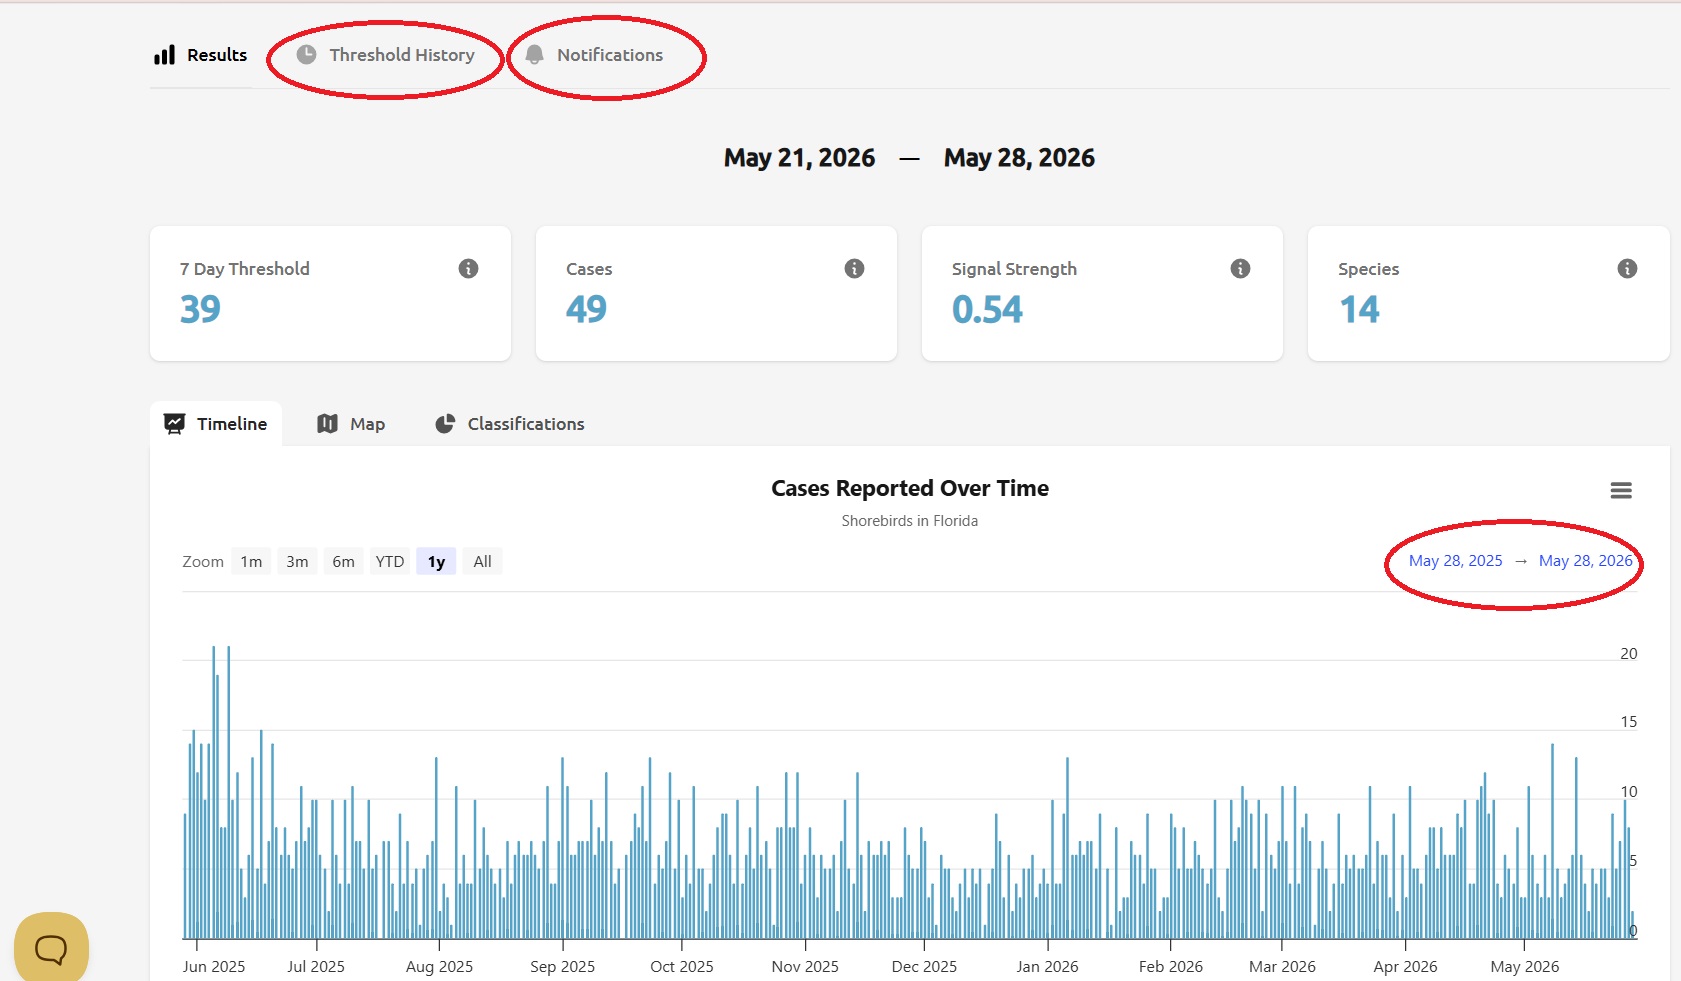
In the My Alerts or All Alerts tables, click the View target link on a row to open that target's Results page. Both tables can be sorted by clicking a column header; they are sorted by Signal Strength by default. From the target page you can:
- Adjust the date range to see the underlying cases driving the alert.
- Open the Threshold History tab to see how the threshold has trended over time.
- Open the Notifications tab to add or remove team members from email alerts for this target.
Step 4 — Search and filter the alerts list
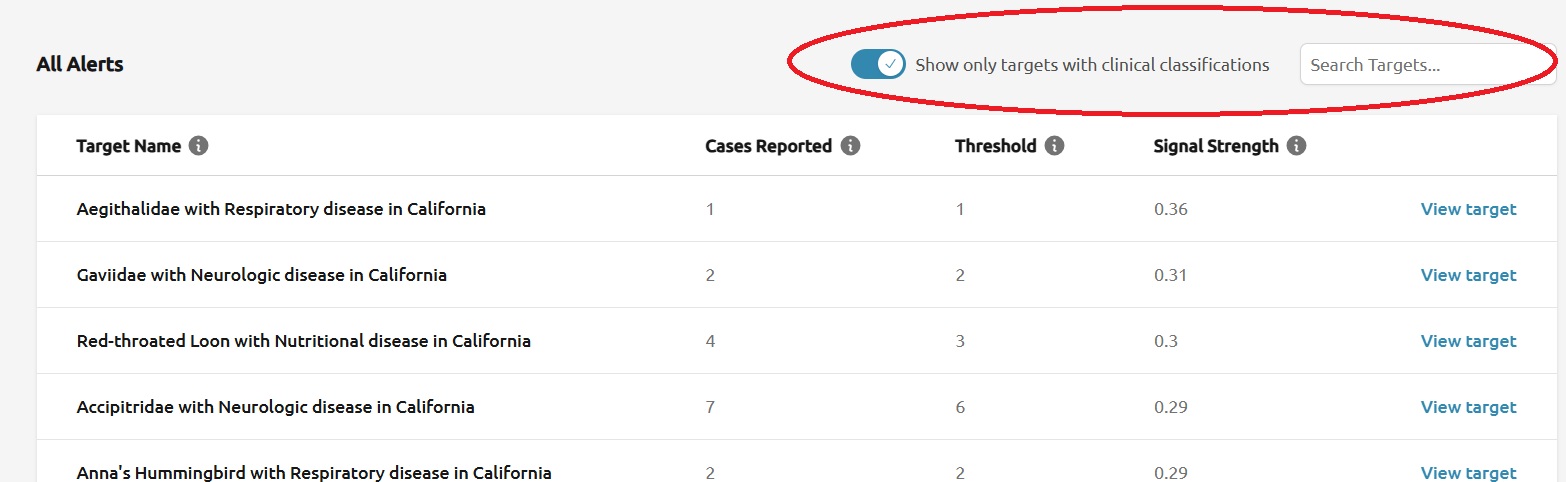
The All Alerts section provides a search box (matches against the target name) and a toggle labeled Show only targets with clinical classifications. Turn the toggle off to switch the list to alerts defined by taxa and geography alone, that is, targets without clinical classification filters.
Step 5 — Take action
If you do not yet have any targets, the My Alerts section shows shortcut buttons to Create a Target or View Recent Cases. Creating targets is the first step to receiving alerts — see How to Set up a Surveillance Target for details.