How to use the Cases page
In this tutorial, you will learn how to use the Cases page to browse and filter wildlife cases across your territory.
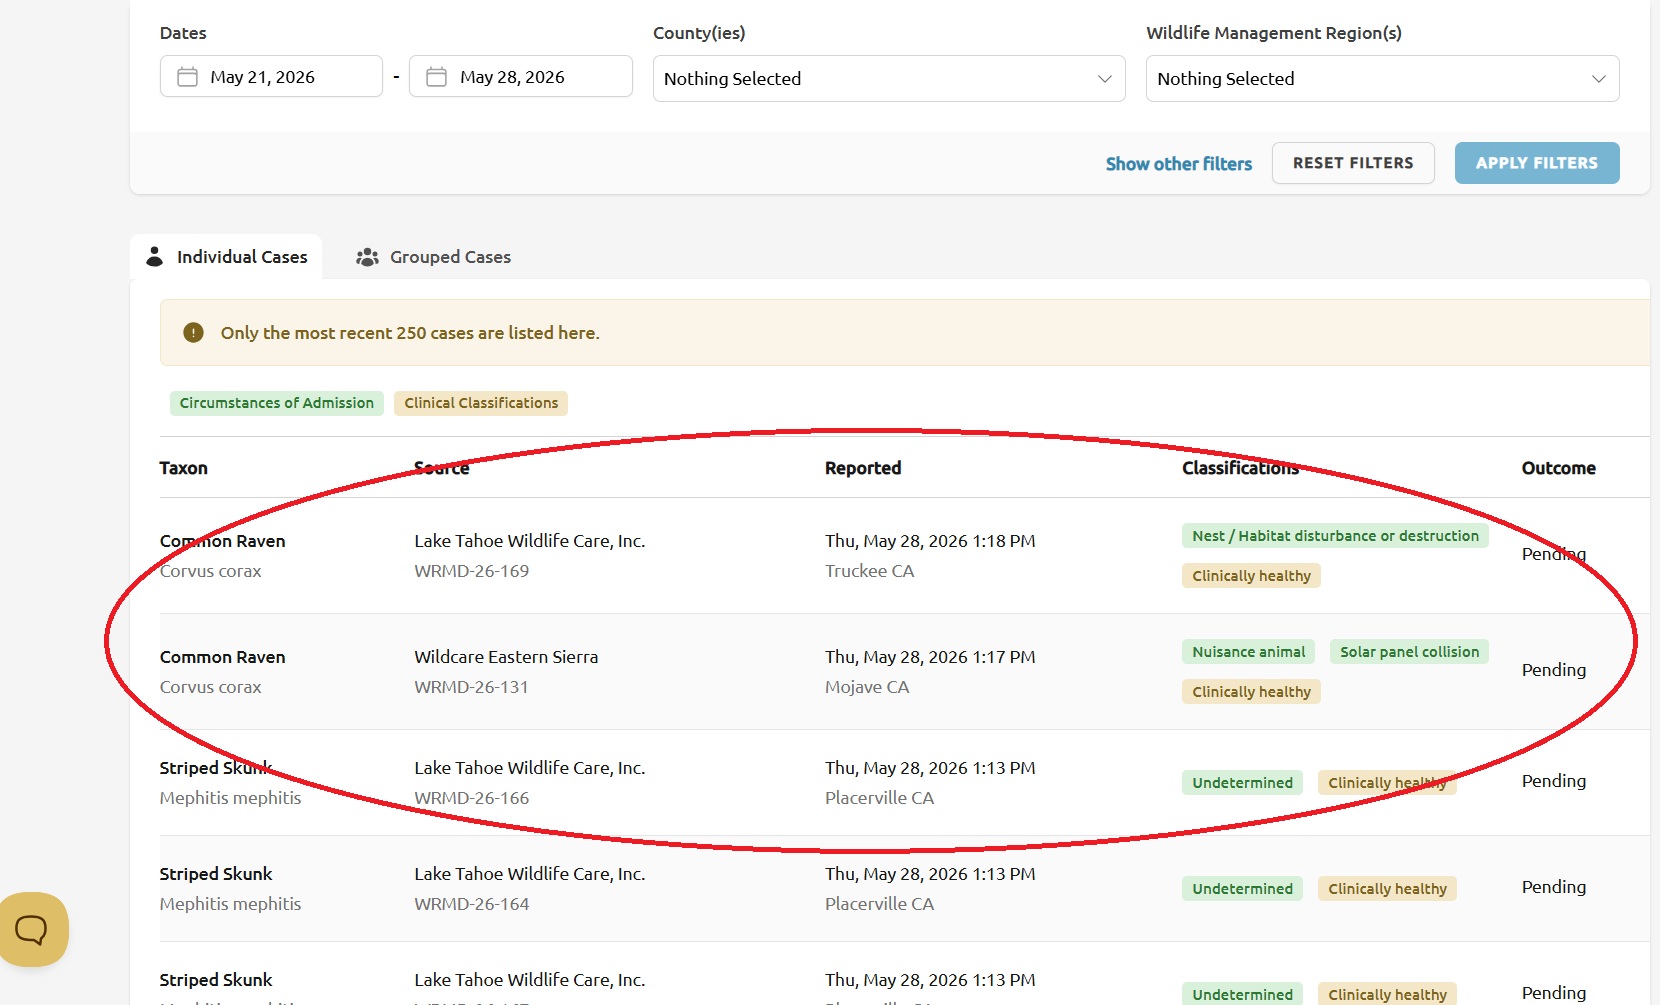
The Cases page lists individual wildlife cases that have been reported across the network. It uses the same filter controls as the Dashboard, so any selections you make on one carry the same meaning on the other.
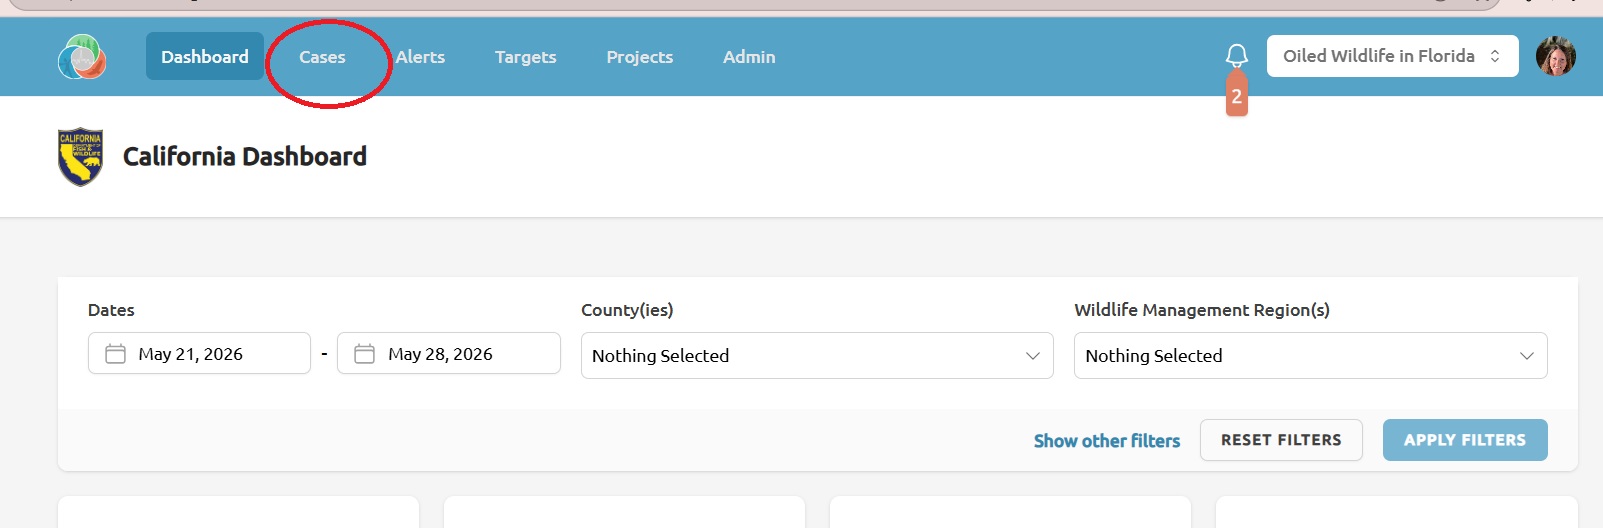
Step 1 — Open the Cases page
Click Cases in the top banner. The page opens with the most recent cases shown for your territory.
Step 2 — Filter the cases
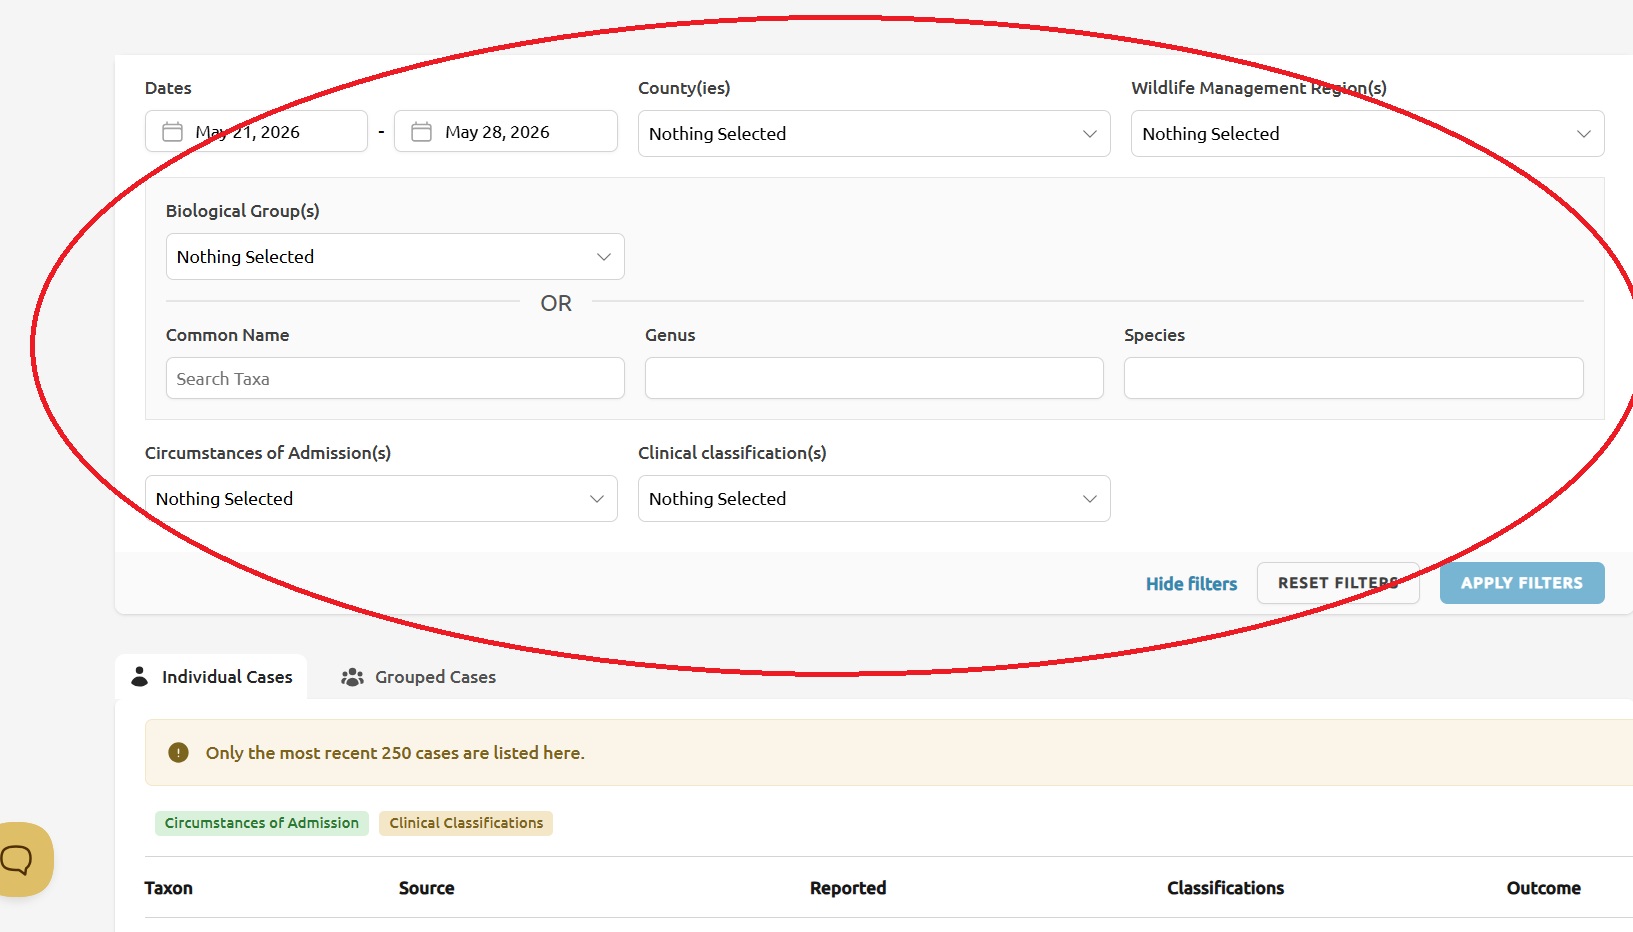
Use the Filters panel at the top of the page to narrow the list. You can filter by:
- Date range (preset shortcuts or a custom range)
- Counties and regions
- Biological groups, genus, and species
- Circumstances of admission and clinical classifications
Changes to the filters refresh the table below.
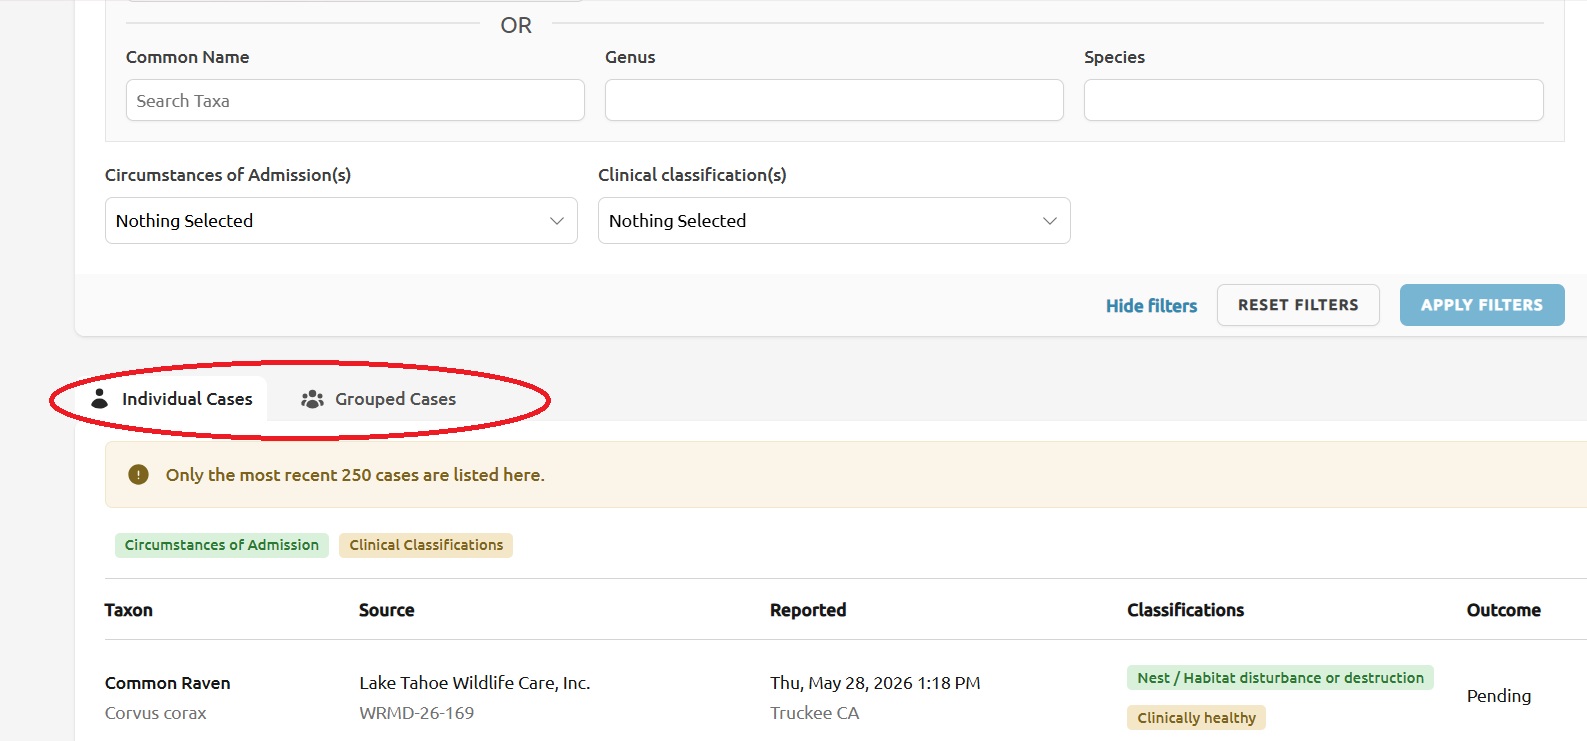
Step 3 — Switch between Individual and Aggregate views
Tabs above the table let you switch between two views of the same filtered data:
- Individual — one row per case, showing taxon, source organization, reported date, outcome, and matched classifications.
- Aggregate — rows grouped by taxon, with totals for each outcome (Pending, Released, Transferred, DOA, Died, Euthanized) plus the calculated Threshold and Deviance.
Your current tab is preserved in the URL, so you can bookmark or share a link to either view.
Step 4 — Sort columns
In the Aggregate view, click any column header to sort by that column. Click again to reverse the direction. Your sort and the active tab are kept in sync so the page remembers your view as you switch tabs or refine filters.

Step 5 — Read the row cap notice
The Cases page shows the most recent 250 matching cases at a time. If your filters return more than that, a notice will appear at the top of the table. Narrow the date range or add more specific filters if you need to see a particular case that falls outside the displayed window.