Processing an Oiled Animal
This tutorial explains how to document the collection, evidence, and oiling assessment data for an oiled wildlife patient. The Processing page is where you record initial intake information, evidence collection, and detailed observations about the oiling condition.
Accessing the Processing Page
- Navigate to an oiled patient's record.
- Click the Processing tab in the patient navigation menu.
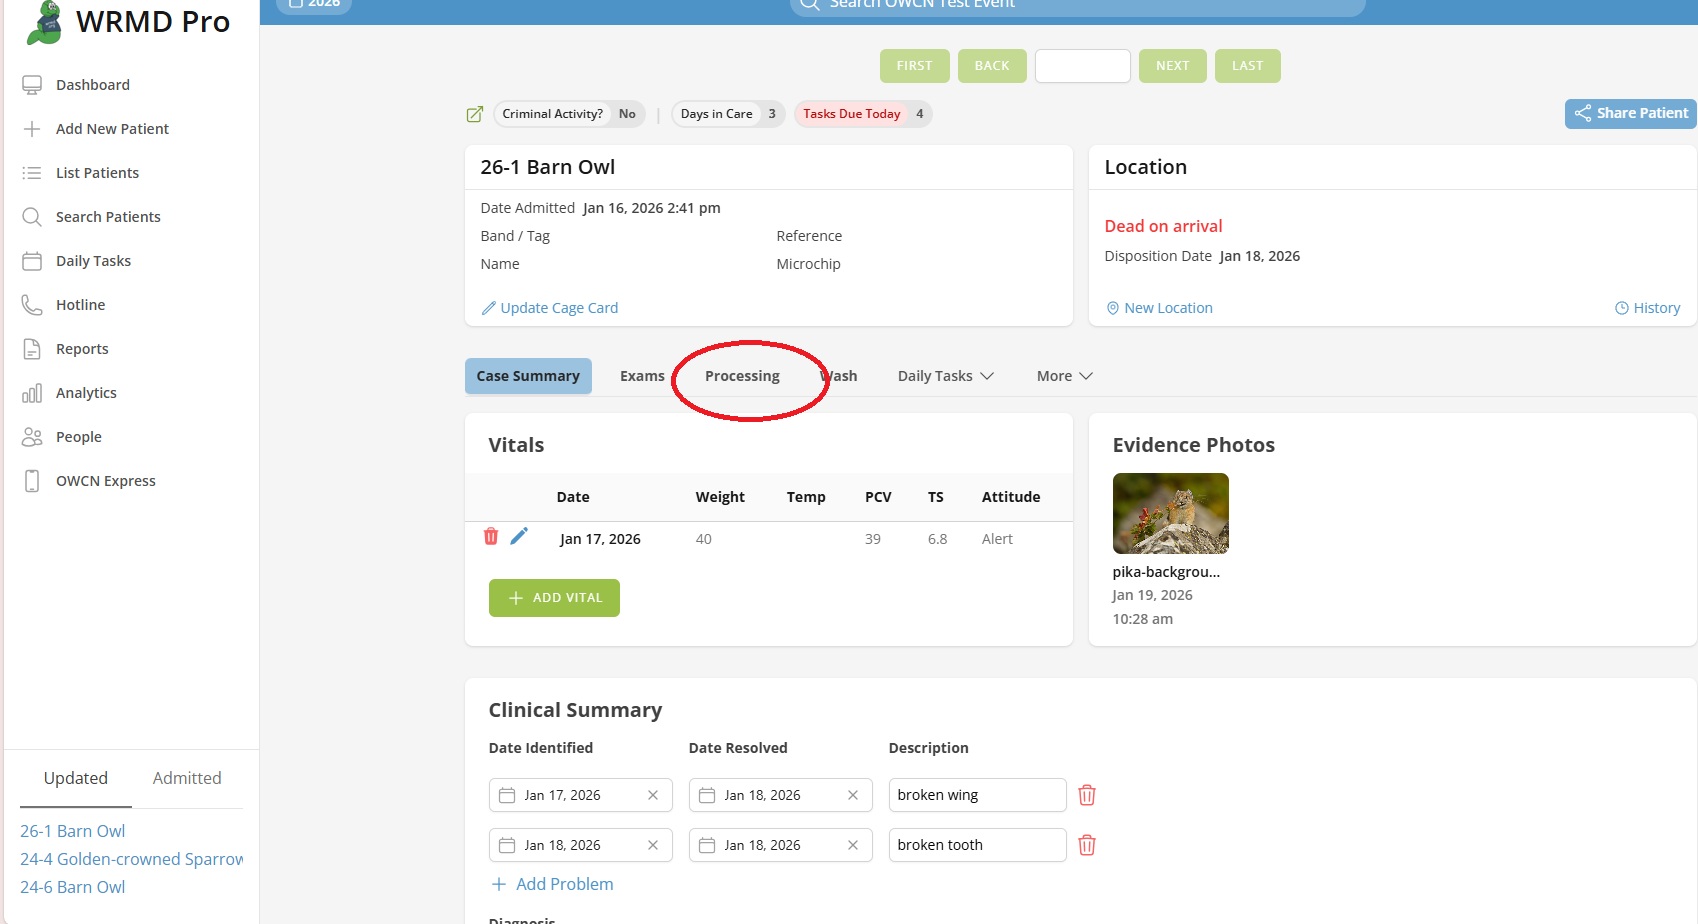
Step 1: Record Collection Information
The Oiled Animal Collection and Processing section captures how and where the animal was collected.
- Enter the Date Collected and time when the animal was found or recovered.
- Select the Collection Condition:
- Choose Alive if the animal was alive when collected.
- Choose Dead if the animal was deceased (this will display additional carcass condition fields later).
- Enter the Collector First Name and Collector Last Name of the person who recovered the animal.
- Enter the Location Name where the animal was found.
- If known, enter the Latitude and Longitude coordinates of the collection site.
- Click Update Collection to save.
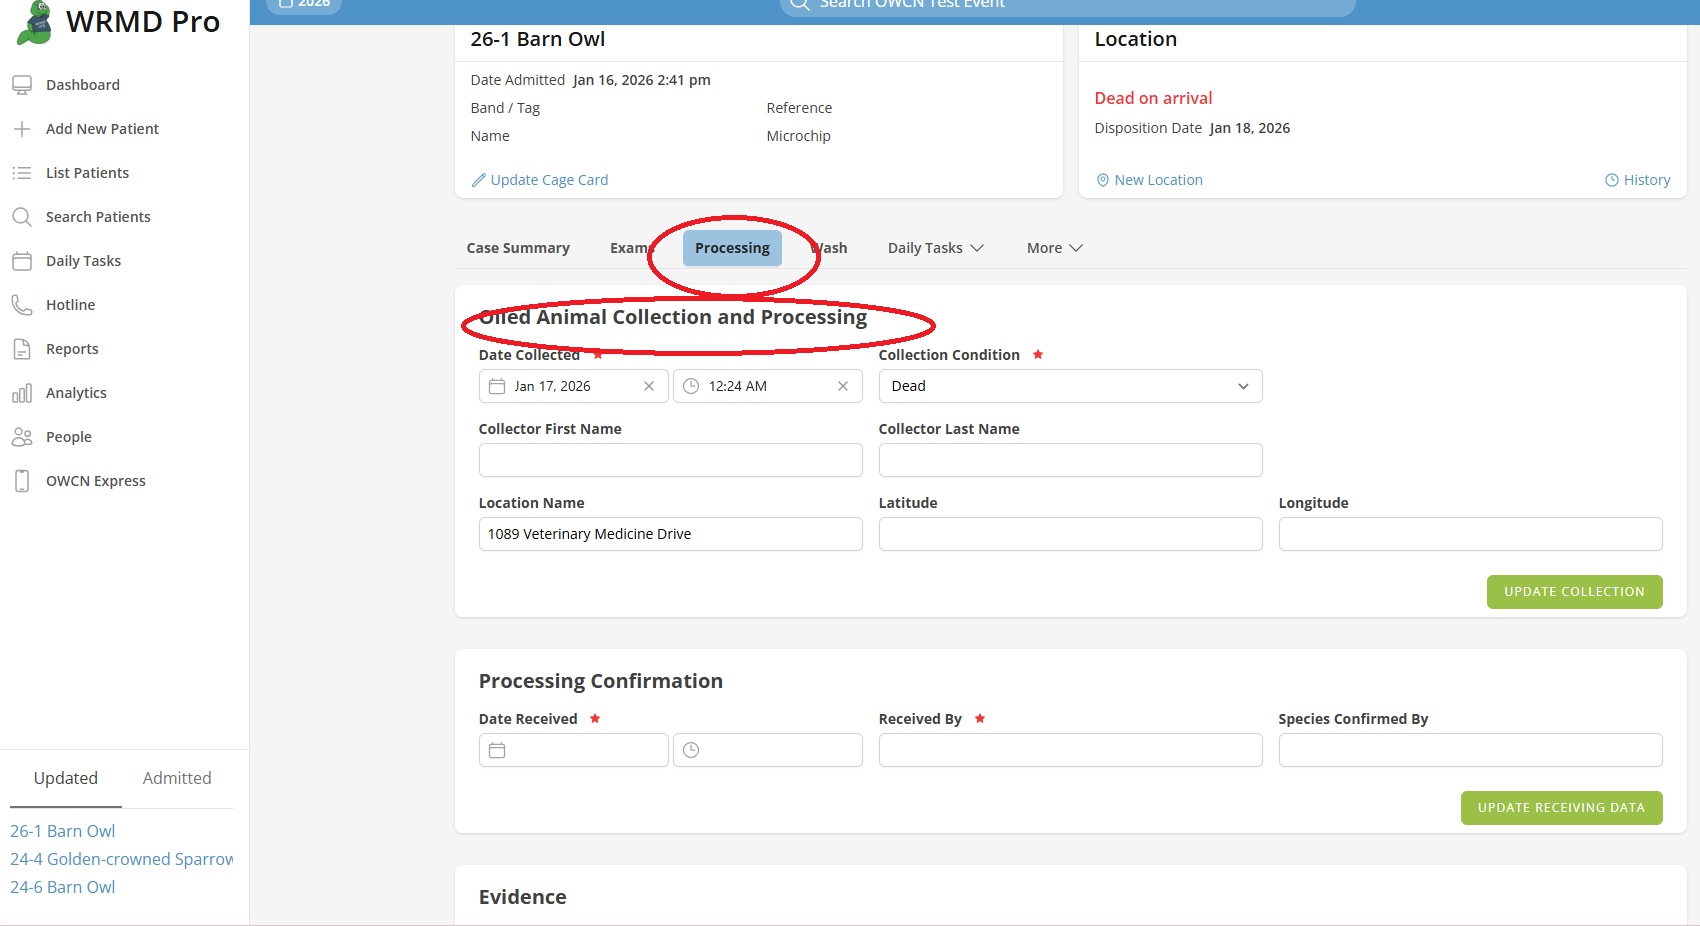
Step 2: Confirm Processing Receipt
The Processing Confirmation section documents when the animal arrived at your facility.
- Enter the Date Received and time when the animal arrived at your primary care facility.
- Enter the name of the person who received the animal in the Received By field.
- If applicable, enter the name of the person who confirmed the species in the Species Confirmed By field.
- Click Update Receiving Data to save.
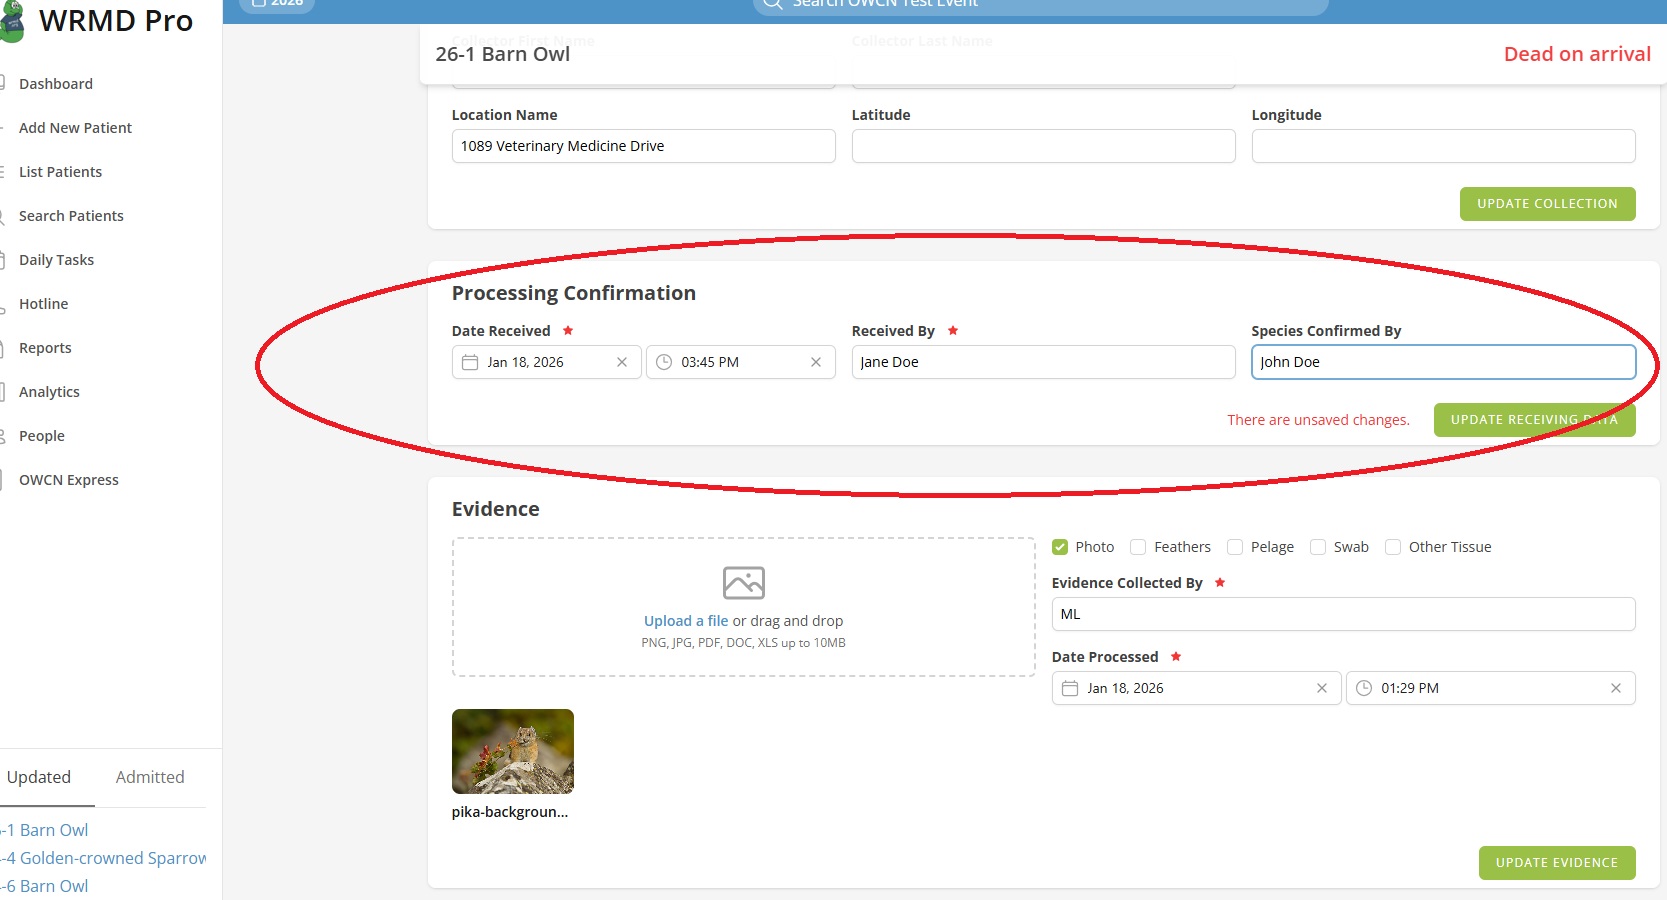
Step 3: Document Evidence Collection
The Evidence section tracks photographic documentation and sample collection.
Uploading Evidence Photos:
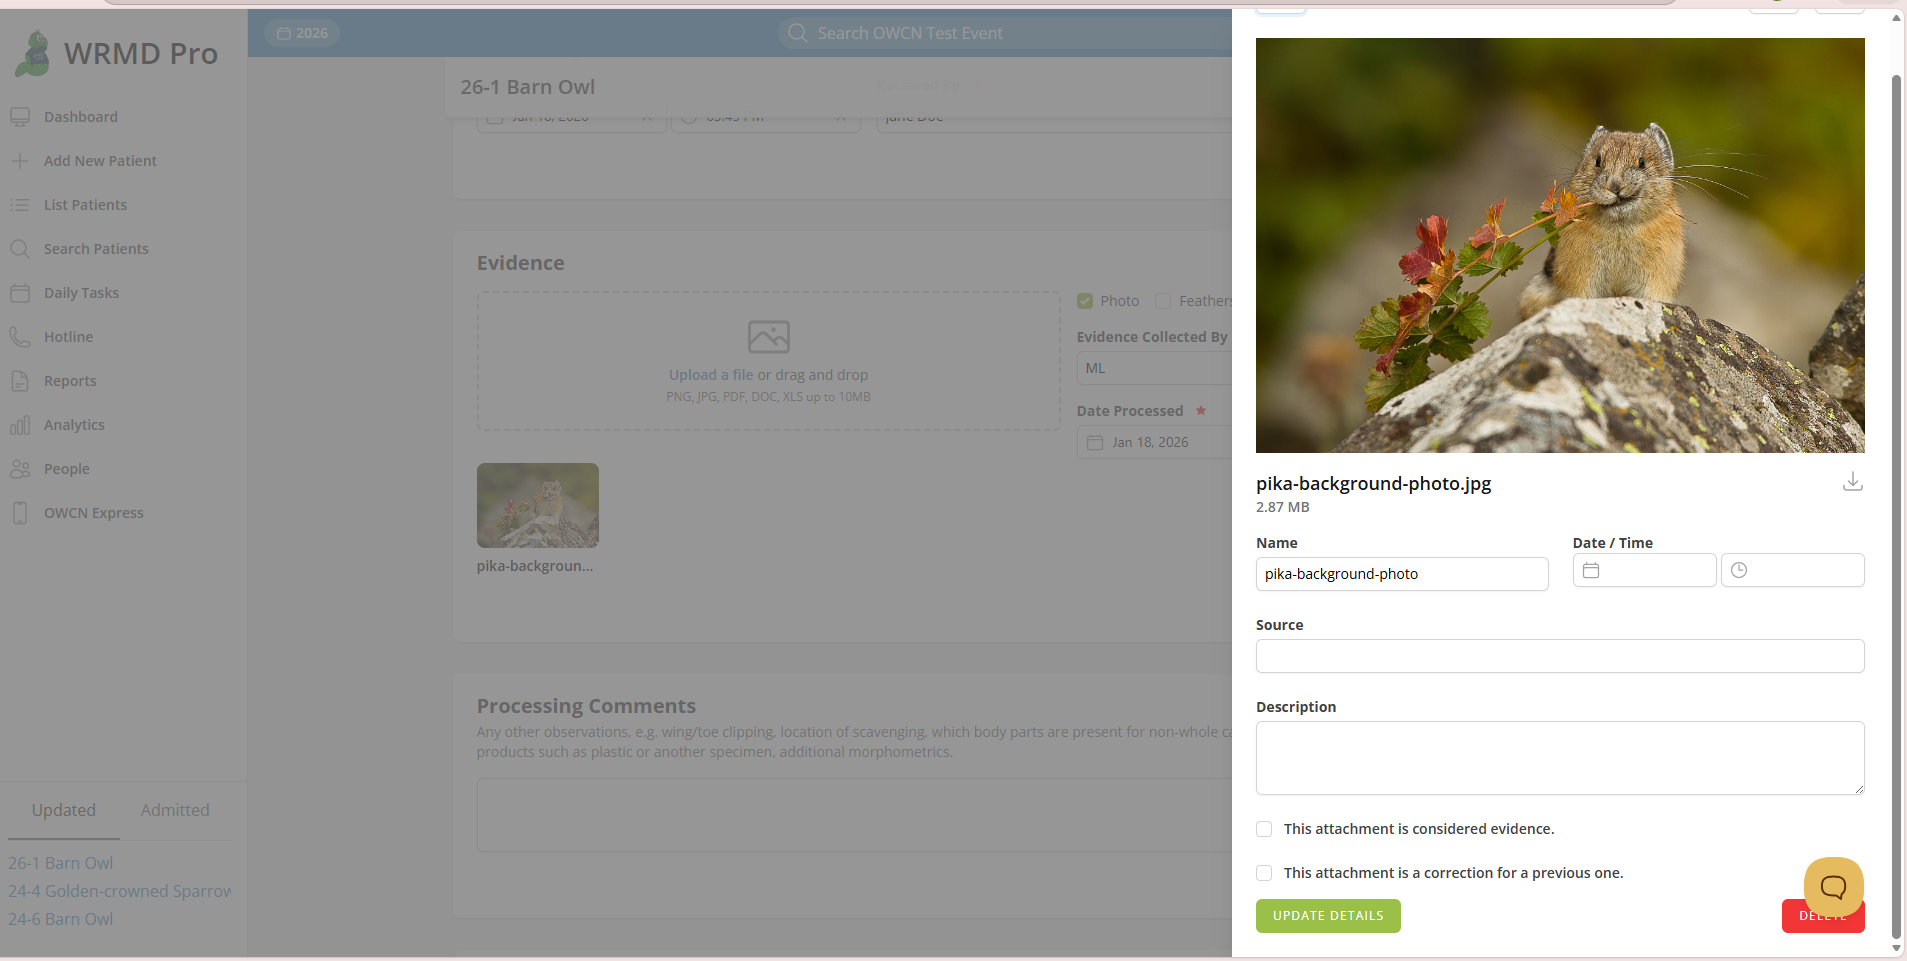
- Drag and drop files or click to select images from your computer.
- Uploaded photos will appear in the media list below the uploader.
Recording Evidence Details:
- Check the boxes for each type of evidence that was collected (options vary based on configuration).
- Enter the name of the person who collected the evidence in the Evidence Collected By field.
- Enter the Date Processed and time when the evidence processing occurred.
- Click Update Evidence to save.
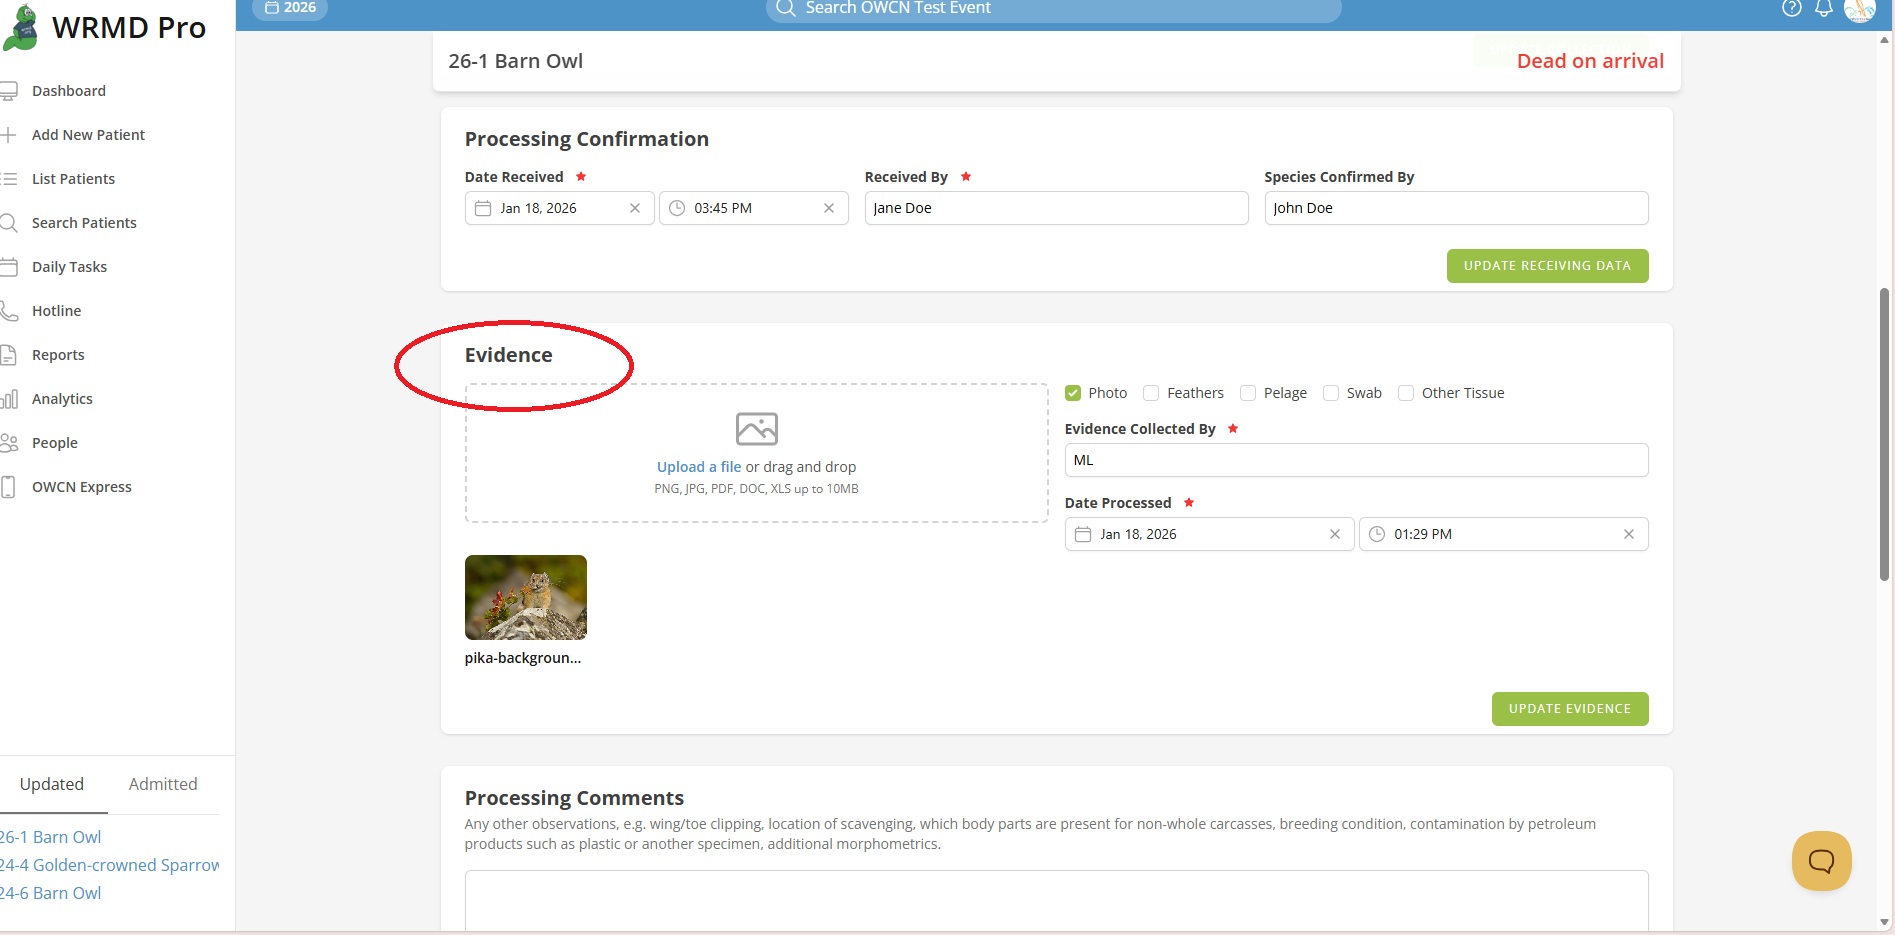
Clicking on the image opens up a card and you can enter additional information.
Step 4: Add Processing Comments
The Processing Comments section allows you to record additional observations.
- Enter any relevant notes in the text area, such as:
- Wing or toe clipping observations
- Location of scavenging damage
- Body parts present for incomplete carcasses
- Breeding condition
- Contamination by other substances (plastic, etc.)
- Additional morphometric measurements
Click Update Processing Comments to save.
Step 5: Record Oiling Data
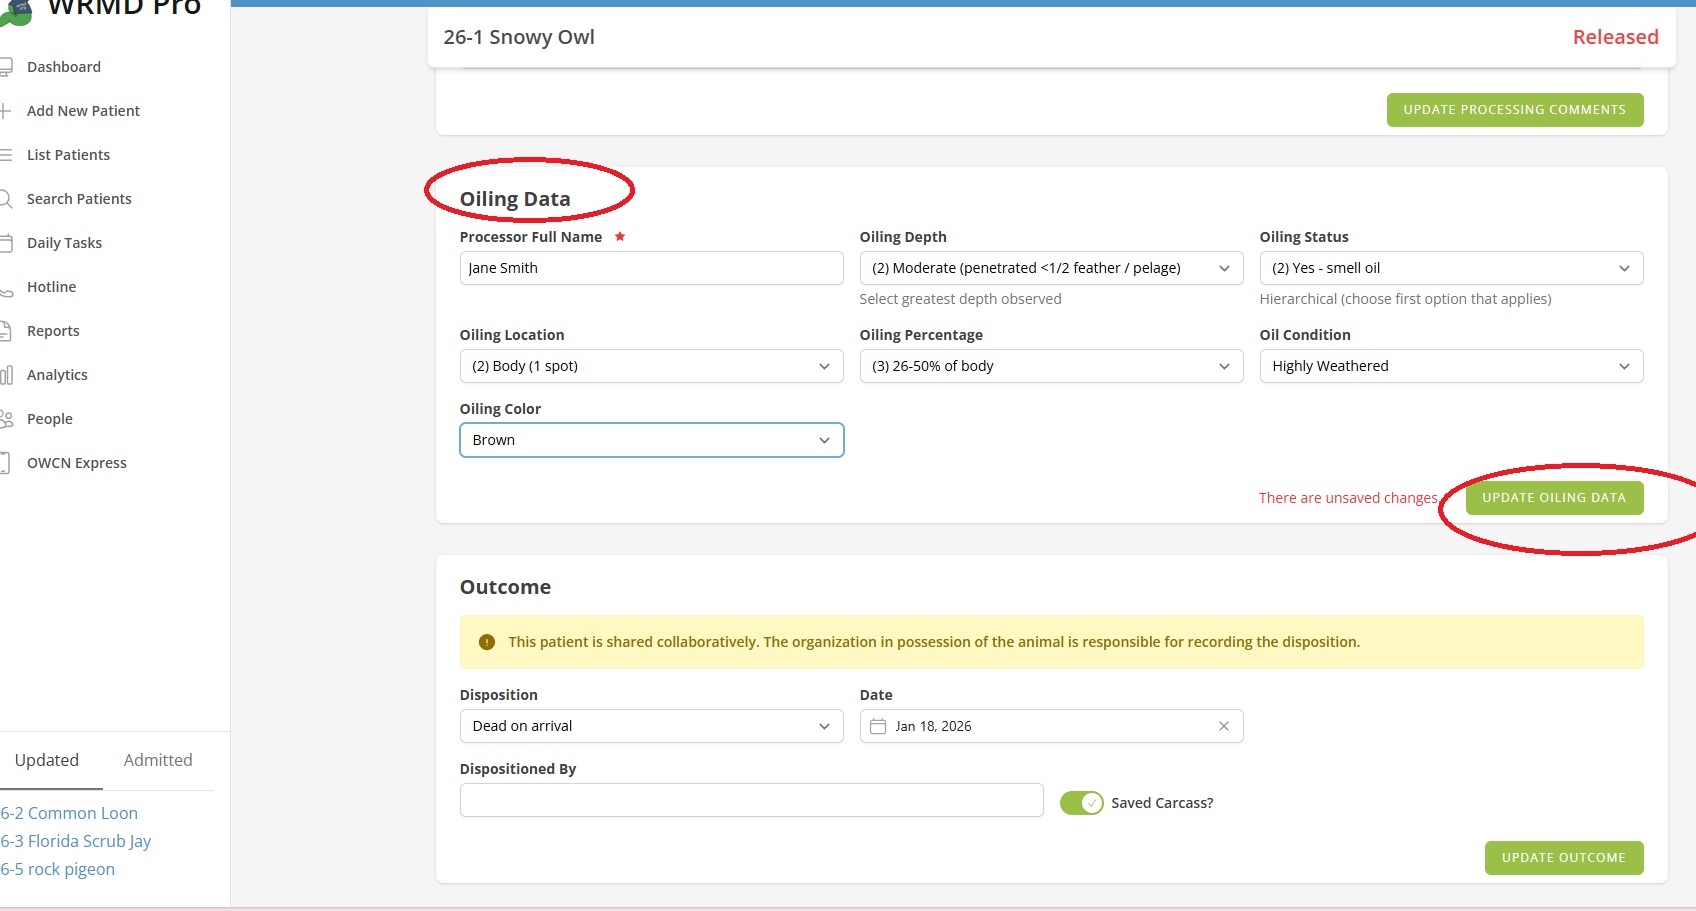
The Oiling Data section documents the extent and characteristics of the oiling.
- Enter the Processor Full Name of the person assessing the oiling.
- Select the Oiling Depth (choose the greatest depth observed):
- Options typically range from surface contamination to penetration to skin.
- Select the Oiling Status:
- Choose the first applicable option in the hierarchical list.
- Select the Oiling Location to indicate where oil is present on the animal.
- Select the Oiling Percentage to estimate body surface area affected.
- Select the Oil Condition to describe the state of the oil (fresh, weathered, etc.).
- Select the Oiling Color to document the visual appearance of the oil.
- Click Update Oiling Data to save.
Step 6: Record Carcass Condition (Deceased Animals Only)
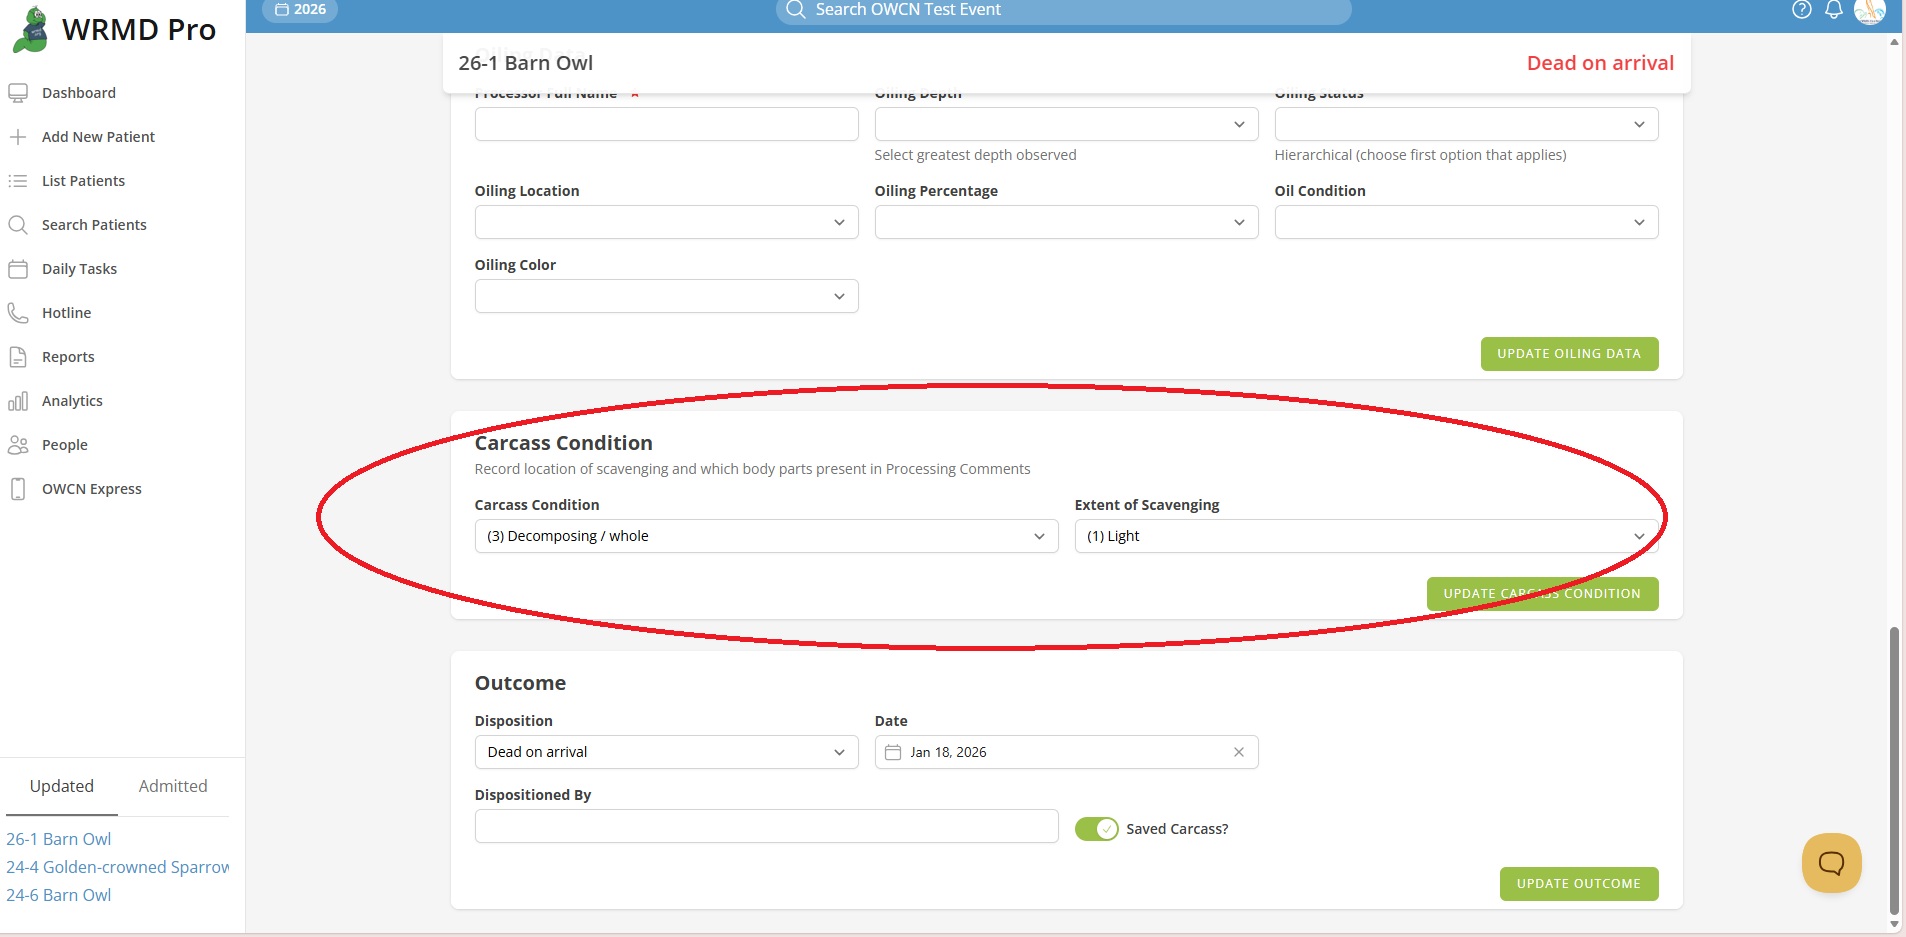
If the Collection Condition was set to Dead, the Carcass Condition section will appear.
- Select the Carcass Condition from the dropdown (fresh, moderate decomposition, etc.).
- Select the Extent of Scavenging to document any predation or scavenging damage.
- Click Update Carcass Condition to save.
Tip: Record the specific location of scavenging and which body parts are present in the Processing Comments section.
Step 7: Record the Outcome
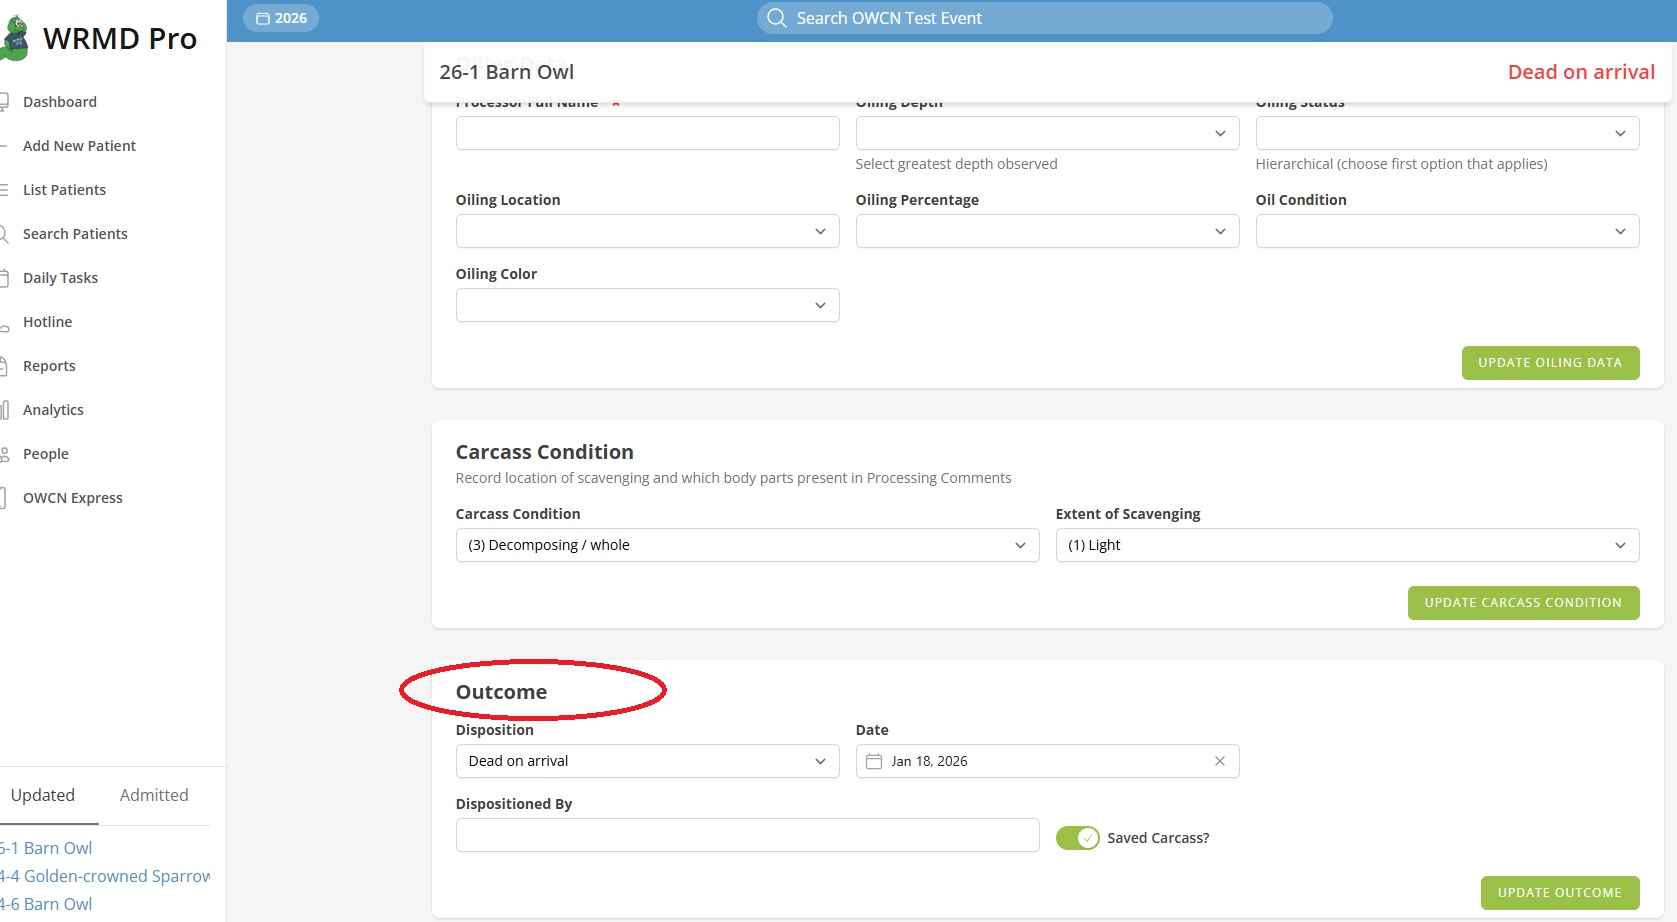
The Outcome section at the bottom of the page allows you to document the patient's disposition.
- Select the appropriate Disposition (pending, released, transferred, died, euthanized, etc.).
- Fill in additional disposition details as they become relevant:
- Disposition date and time
- Release or transfer location details
- Reason for disposition
- Person responsible for disposition
Click Update Outcome to save.
Auto-Save Feature
Each section on the Processing page includes auto-save functionality. When you make changes:
- A red "There are unsaved changes" message appears.
- After saving, a green "Saved" confirmation displays briefly.
- You can also manually save at any time using the update button for each section.
- It auto-saves 2 seconds after you stop making changes
Summary
The Processing page provides a comprehensive intake form for oiled wildlife. Work through each section systematically to ensure complete documentation of:
- Collection circumstances and location
- Receiving confirmation at your facility
- Evidence photographs and sample collection
- Detailed oiling assessment
- Carcass condition (if applicable)
- Patient outcome/disposition