How to Freeze a Patient to Prevent Updates
In this tutorial, you will learn how to lock a patient's record to prevent any additional updates to its account.
Only users with the Update Patient Metadata permission can lock patients.
Why Lock a Record?
You may want to lock a record because the patient is part of a criminal investigation or it is a high value case, and you want to be absolutely certain that nothing was added or deleted to the record after the patient has been dispositioned from your organization.
Step 1
Visit https://www.wrmd.org/signin and log into your account using the username and password that you registered with.
Step 2
Go to the patient record you wish to lock by either conducting a (Quick) Patient Search or utilizing the list patient feature on the dashboard.
Step 3
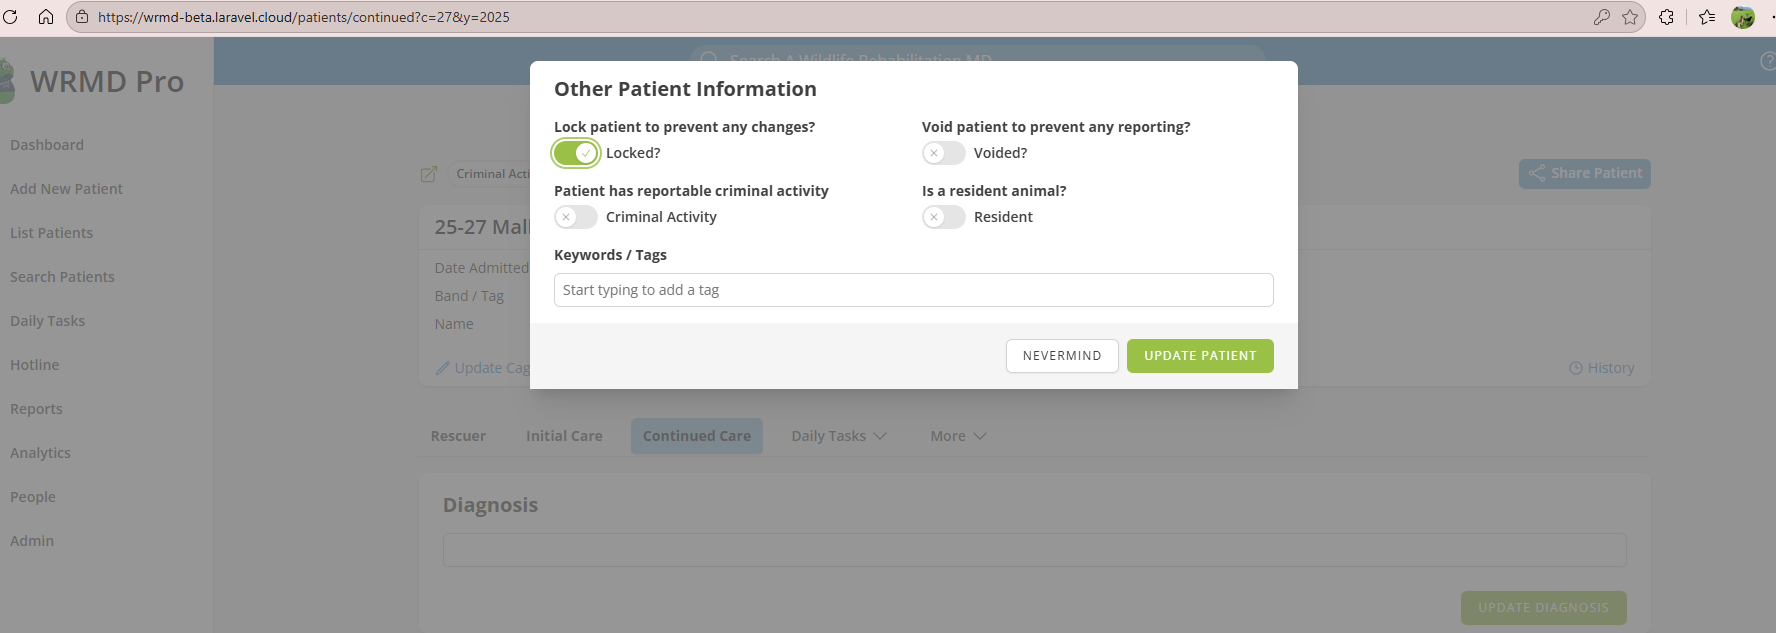
Click on any of the patient information badges or the arrow icon at the top of the patient record to open the Other Patient Information window.

Step 4
In the new window under "lock patient to prevent any changes?", move the toggle to Locked. When it is activated, it will appear green. This will prevent any further changes to that specific patient record.
Step 5
Click the Update Patient button. A Locked? badge will appear at the top of the patient record, indicating that the record has been locked.
You will be able to view the fields of that patient, but there is no update button, and your inputs will not be saved.
Step 6
Only a user with the Update Patient Metadata permission can unlock a record by following these steps:
- Log in as a user with the Update Patient Metadata permission.
- Locate the Locked? badge at the top of the patient record and click it to open the Other Patient Information window.
- Toggle the Lock patient to prevent any changes? switch back to its original setting.
- Click Update Patient to save the changes.