Using Locations
In this tutorial, you will learn how to manage the locations of your patients.
What is a Location?
Knowing where your animal is currently being held and the locations it has been held while in your care is one of the most important things about a patient record.
Adding or Updating a New Location
Step 1
Visit https://www.wrmd.org/signin and log into your account using the username and password that you registered with.
Step 2
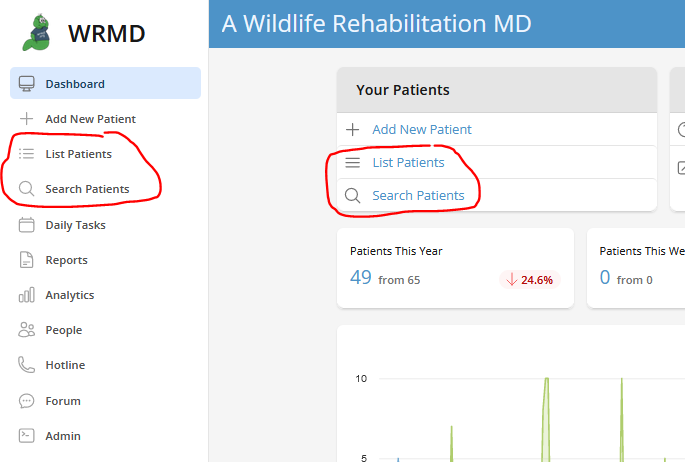
Access your patient's record by either conducting a patient search or utilizing the list patient feature on the dashboard. These features are available in two different sections on the dashboard.
Step 3
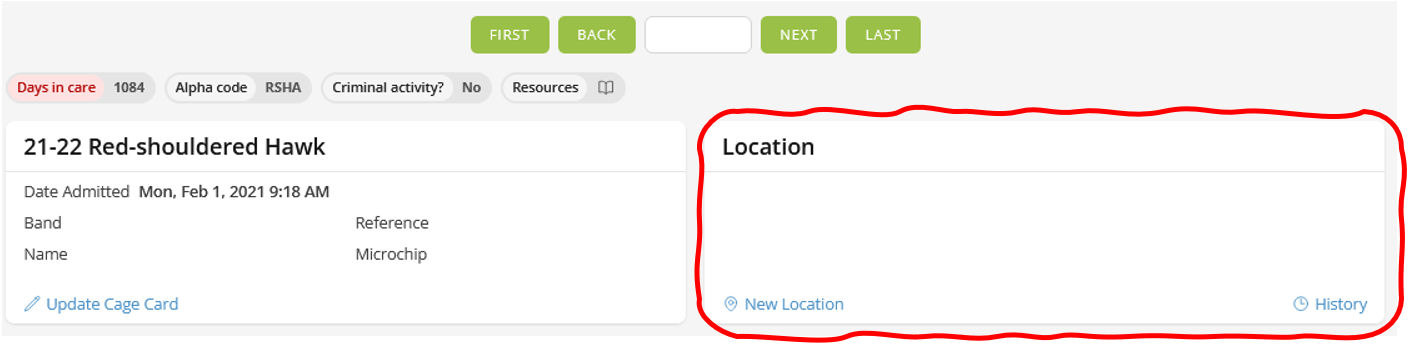
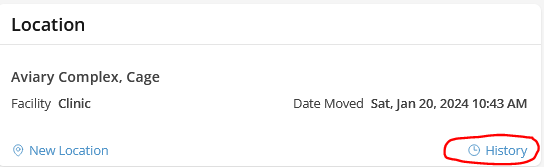
Go to the patient’s record and the Locations panel on the upper right-hand side of the patient record.
Step 4
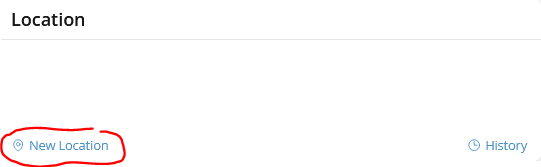
Click on New Location in the bottom left corner.
Step 5
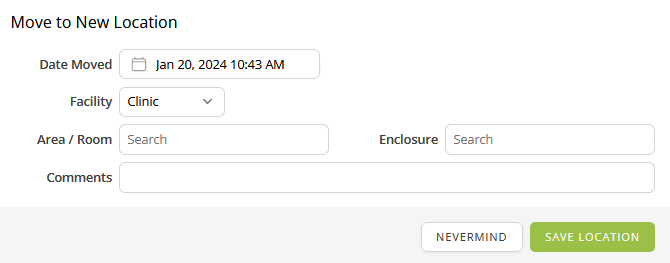
In the pop-up screen. Fill out the appropriate fields.
- Date Moved
- Choose the appropriate date from the dropdown calendar.
- Facility: Choose any one of the following from the dropdown menu.
- Clinic: at your hospital
- Off-site: at another location, not at your hospital
- Homecare: at your home or a volunteer’s at home. When you choose this option, the text fields change to caregiver and address, prompting you to either type into the field or choose from a pre-set dropdown menu that pulls from the list of volunteers that you already have in your system.
- Area/Room
- This describes the area or room within your designated general location (i.e.: ICU, outside, aviary complex, etc.). Fill out the text field with the names of your specific areas within your clinic.
- Enclosure
- This describes a specific enclosure within the designated area/room (i.e.: ICU 5, Aviary 1, etc.). Fill out the text field with the names of your specific areas. WRMD remembers these for later reference and includes them in a dropdown list.
- Comments
- Any comments about the location.
To set up dropdown menus for the textbox fields, review the Setting up Your Locations tutorial and Managing your People & Privacy Settings (note: changing these settings requires Admin status).
Step 6
Click the green Save Location button. You will return to the patient record screen and the new location will be listed in the panel.
Viewing Location History
Step 1
Click on the history button in the location panel.
Step 2
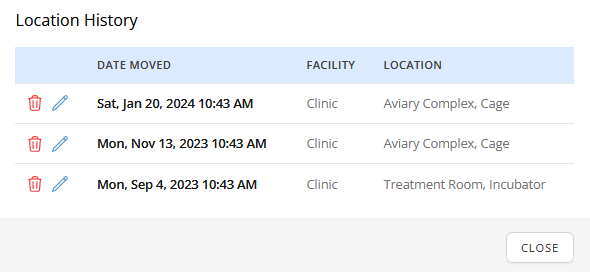
A new screen will pop up, allowing you to see all previous locations of the animal. If you have allowable permissions, you may also be able to edit or delete these locations from the list, as indicated by the blue editing pen or the red trash bin icons.
Step 3
Close the window by clicking the Close button in the lower right corner.